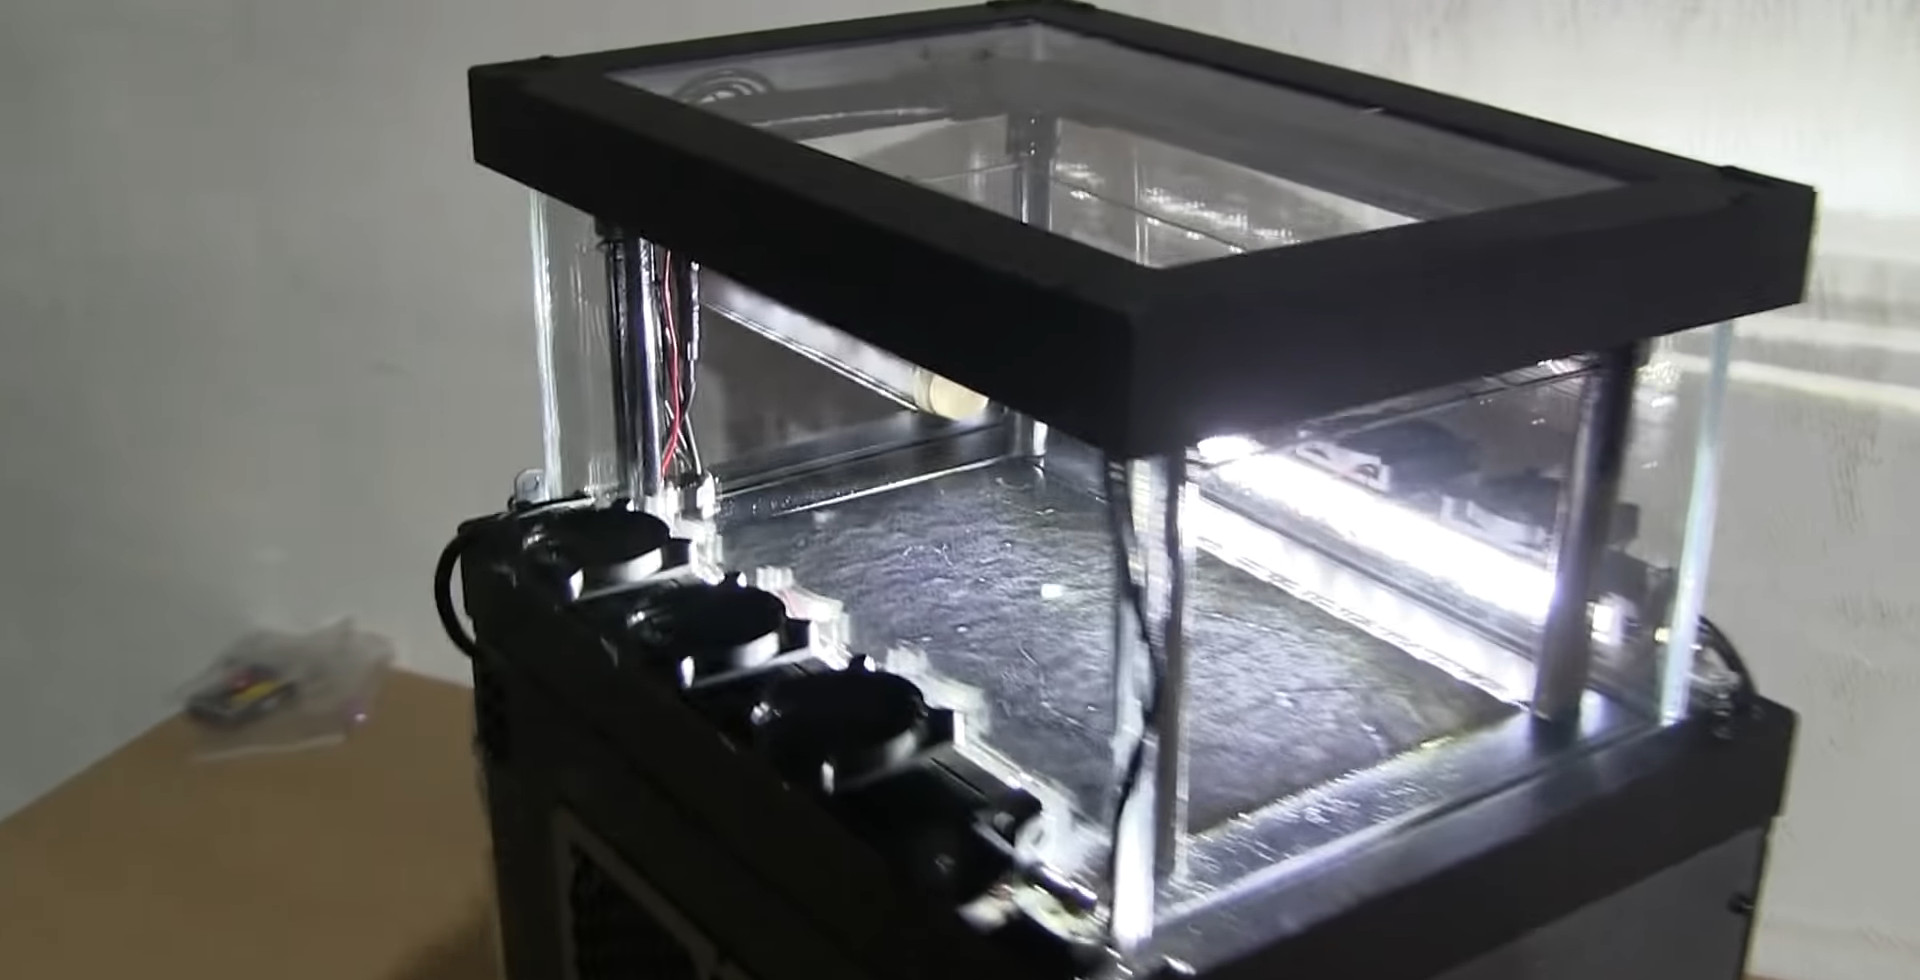
DIY Particle Physics: Building a Cloud Chamber

Ever wondered about the invisible universe teeming around us? A constant rain of subatomic particles, cosmic rays born from distant supernovae and other celestial events, are bombarding Earth every second. While we can't see them with the naked eye, there's a surprisingly simple way to glimpse this hidden world: build a cloud chamber in your own home. It's a DIY project that brings particle physics from the lab to your living room.
Constructing a cloud chamber is a remarkably accessible way to visualize ionizing radiation. Think of it as a DIY particle detector, a window into the quantum realm. By creating a supersaturated alcohol vapor environment, you can observe the trails left by these particles as they interact with the alcohol molecules, leaving fleeting, wispy tracks. It’s a captivating demonstration of the unseen forces shaping our reality.
The history of the cloud chamber traces back to the late 19th and early 20th centuries, pioneered by Scottish physicist Charles Thomson Rees Wilson. His invention, initially designed to study cloud formation, quickly became an essential tool for particle physicists. The cloud chamber played a crucial role in the discovery of numerous subatomic particles, including the positron and the muon, earning Wilson the Nobel Prize in Physics in 1927. Building your own cloud chamber at home allows you to connect with this rich scientific heritage and witness the same phenomena that revolutionized our understanding of matter.
One of the main issues when building a cloud chamber at home is achieving and maintaining the necessary supersaturated environment. This requires careful temperature control and a sealed environment. Imperfect seals or fluctuating temperatures can hinder the formation of visible trails. But fear not, even with these challenges, the process is achievable and incredibly rewarding.
Essentially, a cloud chamber is a sealed container containing a supersaturated alcohol vapor, usually isopropyl alcohol. When a charged particle passes through this vapor, it ionizes the alcohol molecules along its path. These ionized molecules act as condensation nuclei, causing the alcohol vapor to condense into tiny droplets, forming visible trails that trace the particle's trajectory. This allows you to observe the movement and interactions of these otherwise invisible particles.
One benefit of creating your own cloud chamber is the educational value. It’s a hands-on experience that solidifies abstract concepts of particle physics. Imagine seeing the tangible evidence of something you previously only read about in textbooks. Another advantage is the sheer wonder and fascination it inspires. Witnessing the constant dance of these particles is a humbling reminder of the dynamic universe around us. Finally, building a cloud chamber is a relatively inexpensive and achievable DIY project, putting cutting-edge science within everyone's reach.
Building a cloud chamber requires simple materials like a clear container, felt, dry ice, isopropyl alcohol, and a strong light source. The felt is soaked in alcohol and placed at the top of the container, while the dry ice creates a cold temperature gradient at the bottom. The sealed container allows a supersaturated alcohol vapor to form. A bright light source then illuminates the vapor, making the particle trails visible.
Advantages and Disadvantages of Building a Cloud Chamber
| Advantages | Disadvantages |
|---|---|
| Educational and engaging | Requires careful setup and maintenance |
| Relatively inexpensive | Results can be affected by environmental factors |
| Visually stunning demonstration of particle physics | Dry ice requires careful handling |
Best Practices:
1. Use high-concentration isopropyl alcohol.
2. Ensure a good seal on the container.
3. Use a powerful, focused light source.
4. Allow sufficient time for the chamber to reach equilibrium.
5. Conduct the experiment in a dark room for better visibility.
Frequently Asked Questions:
1. What are cosmic rays? (Answer: High-energy particles originating from space.)
2. Is dry ice dangerous? (Answer: Yes, handle with care and avoid direct contact with skin.)
3. What type of alcohol should I use? (Answer: 91% or higher isopropyl alcohol.)
4. Why do I need a light source? (Answer: To illuminate the condensation trails.)
5. How long does it take to see tracks? (Answer: Several minutes after setup.)
6. Can I reuse the materials? (Answer: Yes, the alcohol and container can be reused.)
7. What kind of container should I use? (Answer: A clear, airtight container like a fish tank or plastic container.)
8. Where can I get dry ice? (Answer: Most grocery stores or online retailers.)
Tips and Tricks: Using a black backdrop behind the chamber can improve visibility. Experiment with different alcohol soaking methods to optimize track formation.
Building a cloud chamber at home provides a unique and captivating glimpse into the otherwise invisible world of subatomic particles. It's a hands-on science experiment that connects you with the groundbreaking discoveries of the past while fostering a deeper appreciation for the fundamental forces that govern our universe. From the historical significance of the cloud chamber to the practical steps of constructing your own, this project offers a rewarding educational experience. While there are some challenges in achieving the optimal supersaturated environment and handling materials like dry ice safely, the breathtaking visual reward of observing cosmic rays makes it a worthwhile endeavor. So, dive into the world of DIY particle physics and unlock the mysteries of the subatomic realm within your own home. What are you waiting for? Start building!
Effortless road tax renewal online
A taste of germany in sanford exploring hollerbachs
Unmasking sing sing a look inside new yorks notorious prison


